
Setting Equal Loudness
Nothing is more personal then sound and when it comes to setting your speakers to the proper levels there is a lot of discussion out there on how to do this and which method is best.
You may have heard of Audyssey, Direc, YPAO and other systems that measure the room you're in and based on their measurements these will aid in setting your AV Receiver to the right settings for your room, according to their basics. As fun and as simple as this may sound, it may also introduce a lot of unwanted effects.

What is equal loudness
If I tell you you'll laugh !
Equal loudness has nothing to do with any loudness setting on your equipment, it's about making sure every speaker gives off the proper volume or SPL ( Sound Pressure Level ) to make the Stereo or Surround system do what it's supposed to do, turn your music listening in music experiencing.
What we want to achieve is that, at your self-picked preferred listening position, you want all SPL levels from all speakers reach your ears at the same time, at the same level ( SPL ) . Only then will you experience true Stereo or true Surround .
Mind you, this has nothing to do with what type of sound is coming from what speaker !!
In Stereo mode you can experience exact placement of instrument within the stereo field, especially so when this field is adapted to your hearing position. Same goes for Surround and perhaps even more, so that's what we want to set, the optimal listening position and accordingly their SPL levels.
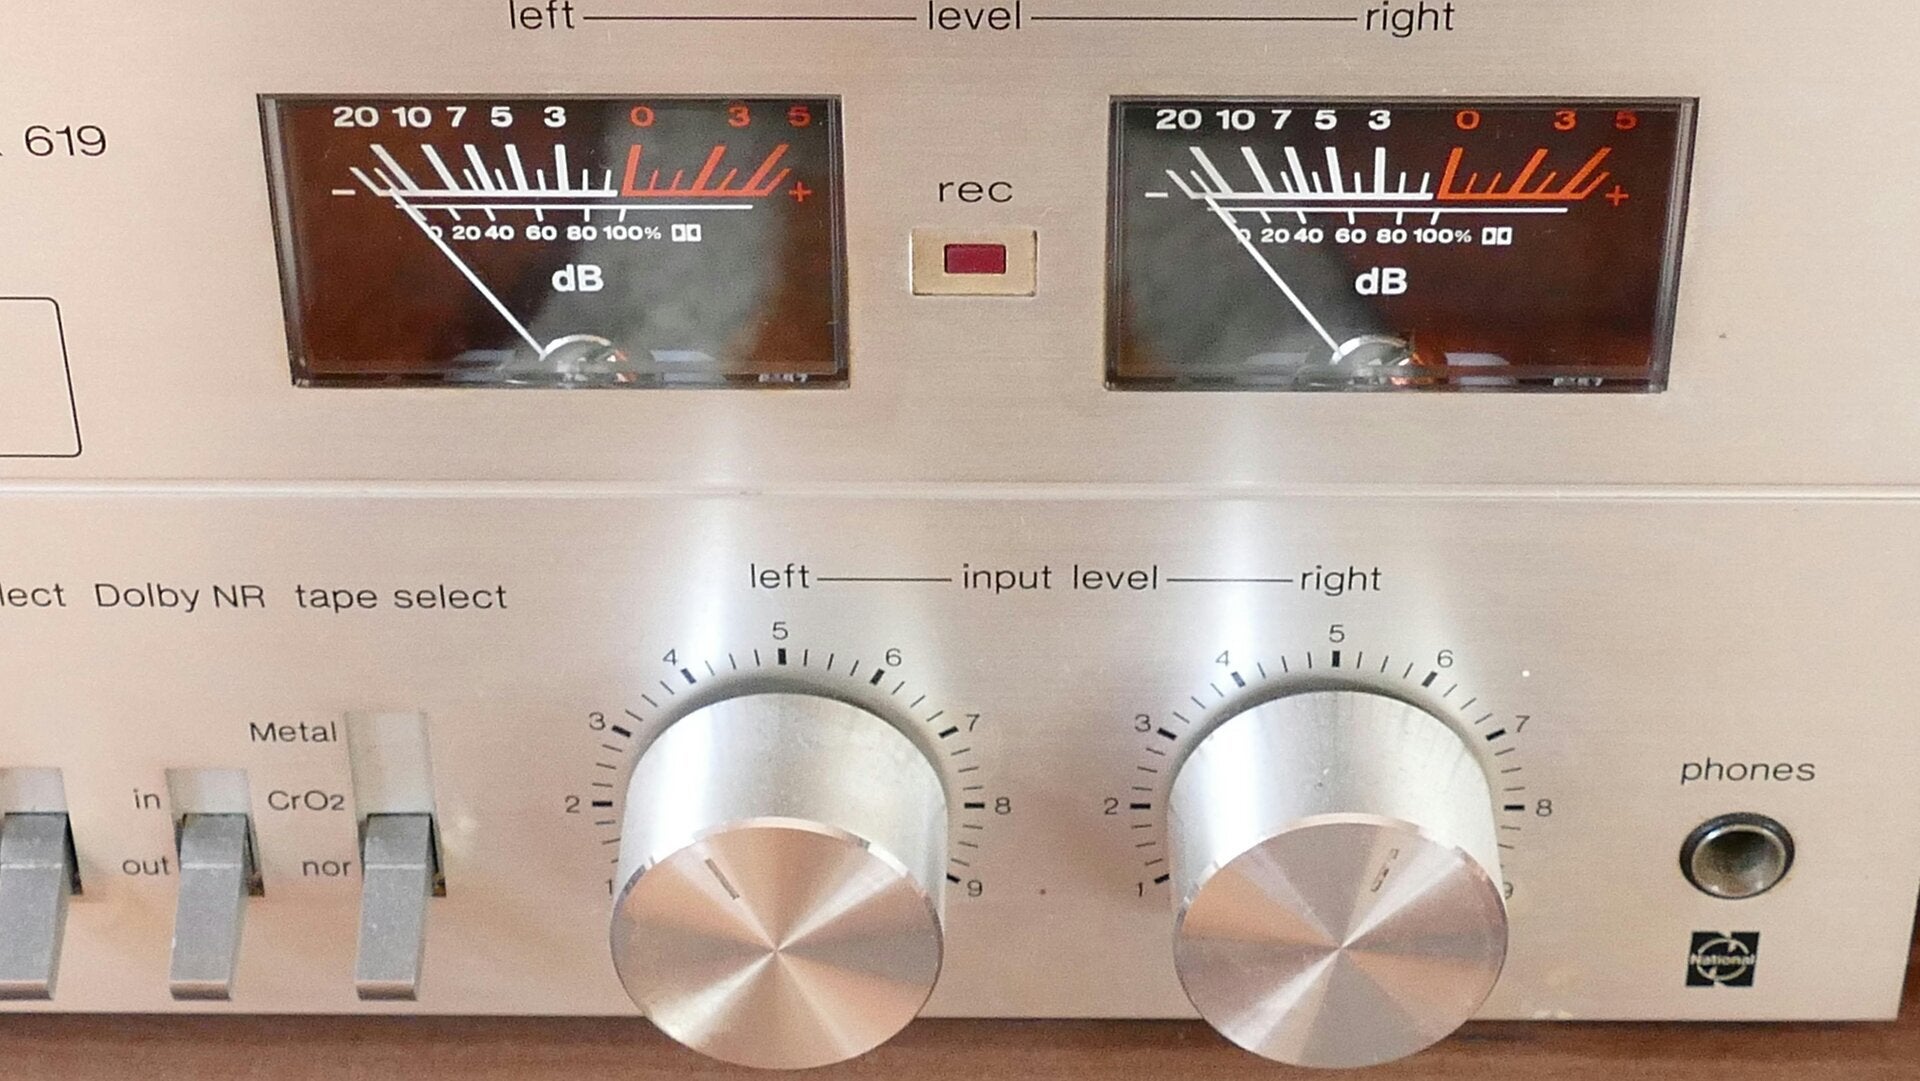
Stereo Cassette deck VU meters

The easy way
There are always various ways to setup your AV Receiver and they mostly boil down to two major selections. The easy way and the Advanced way.
The Easy Way is the method where most beginners will want to start. No fancy things, just simple and pure installation of your new AV Receiver. The easiest way to do this is to make use of the special microphone that has probably come with the system
Using the Microphone
Several brands have developed a system that uses special sounds your AV receiver makes during setup to test its position and responsiveness. This data is collected by a measuring microphone plugged into your receiver, and you follow a Setup Wizard to guide you through the process.
This is the simplest method and sets your system to a basic working mode based on the manufacturer’s default settings. The system calculates the distance between your speakers and the microphone’s position, so it’s crucial to place the measuring microphone precisely where you’ll be sitting.
After completing the Setup Wizard, the system adjusts the distance, delays and tone of the sound to eliminate any discrepancies. This involves modifying the output tone by rating or reducing the treble bass and subwoofer levels.
If you want to set up your system yourself, then read on my daring brother :)

For new Yamaha users Yamaha has created an App for your phone or tablet that helps you in making the right connections and setting up the system. Click the link if you're interested
Yamaha AV Systems Setup App
The Advanced Way
Here we start the more advanced way to setup your (new) AV Receiver. This setup assumes you have already set up your AV System, made the right connections, placed your speakers and subwoofer(s) and want to check your settings and make a stable basis on which to move on.
Here we go !
Where are you?
Your brand new AV receiver has a lot of skills but it doesn't know where it is, where your speakers are or where you are. 😁
In many homes the couch / sofa is placed in sight lines of the TV system. As in the picture you see here. Depending on which position is your favorite place to sit, the audio signals may need to shift a bit to the left or right to reach your ears in a balanced way. One of the most important settings is the distance from your sitting position to your speakers.

Home with a couch / sofa
Distance of your speakers
Getting the proper distance to your speakers can be a tricky thing to work out. The simplest way is often the best way. For this it is best to be with two persons.
Person 1 : Sits down at the location from where the audio will be listened to the mostly. This person holds a tape measure of say 5 meter in his hand and a block-note to write down distances in meters from his position to the separate speakers :
FL = xx.xx meter
C =
FR =
SL =
SR =
SW =

Person 2 : Walks with the tip of the tape measure to the front of each speaker after which Person 1 notes the measured distance in meters.
Using YPAO
Some of you may want to use the Yamaha YPAO measurement. This is fine if you don't want accurate measurements but it will also change the tone of your output and will automatically adjust the speaker levels. This may give adverse results.
Speaker levels
Now we have the measurements for the distance and we have set the crossover frequencies, we can calculate the +dB or -dB levels for the speakers.
The distances you entered into the Setup of your AV Receiver allow it to calculate the needed delay-times ( calculated in milliseconds ) that it has to apply to the signal. This is done by the system itself, nothing to do for you there.😁
However, the volume of each speaker has to be set in accordance with the distance of the speaker. The further it is away from you, the louder it needs to be for the sound to reach you at the right volume or SPL level. Logically the closer the speaker is to you, the lower volume needs to be.
This is why the surround setup of most people fails , because their surround speakers remain too loud which results in the speakers over-shouting the front speakers and bringing an audio unbalance in the surround system setup . We're going to solve this once and for all.
Get your notebook with speaker distances out and read on !
Special dB Calculator
Sound Advice wouldn't be the best in Audio Service if we did not have an easy solution for you to learn what levels you need to set your speakers to get the best equal loudness performance.
We have made a special calculator that will tell you exactly what you should set your Speaker Levels at based on the distance measurements you have taken.
How to use the calculator
Actually it is pretty simple. It looks just like the image on the right
1. Select the Speaker Setup ( 5.1 or 7.1 )
2. Enter all the measurements you have previously made in meters like x,y.
So 2 meter 50 cm is 2,50 ( not 2.50 ! )
3. Hit the calculate button.
4. Write down the values given and enter them in your system at the apropriate location.
Done ! Now start listening and enjoy the music :) You'll find the music embraces you more than before ! We love to hear from you if and how it changed your music and surround sound.
This calculation does not take into account any room adjustments or reflections, it is purely based on the numbers and will give you an almost perfect basis for your settings, far better then any Microphone Setup system. Try it , it's free of charge. The calculator will open in a new window.
Finished !

Note : The calculator only works with meters and you will have to use a comma between te digits like : 2,50 for 2 meter and 50 cm. You cannot use Inches !
This concludes our Setup Guide. You should now be enjoying a whole new level of sound, more vibrant, more placed and with a thick and fat but not bulky bass throughout the room. Some minor tweaking on the volume levels may be in order to adjust to the room and placement of the speaker. Adjust -1 dB if it's too loud or +1 dB if it feels too low or the other speaker feels louder. Such minor tweaks will aid you in finding the right balance. Never use steps larger than 1 dB at a time.
If you come across anything that did not work, please contact me and I will help you solve it.
Create Your Own Website With JouwWeb